Setting up a functional nursery involves choosing the right furniture, organizing clothing, and creating a comfortable space for late-night feedings. However, many parents quickly realize that managing dirty diaper storage becomes one of the most immediate day-to-day challenges after bringing a newborn home. Newborns require frequent changes, and as infants transition to solid foods, containing waste odors requires a solid routine. Integrating a reliable Momcozy diaper pail and refills into your nursery layout provides a strong line of defense, but maintaining a completely fresh space also depends on correct usage, routine cleaning, and smart placement. This guide covers why diaper pails accumulate trapped smells over time, how to address stubborn lingering odors, and practical daily habits to keep your baby’s room smelling fresh.
Understanding Why Diaper Pails Trap and Hold Odors
To effectively manage nursery smells, it helps to understand why diaper waste creates such a persistent challenge in home environments. Infant urine and feces contain compound organic materials that break down rapidly at room temperature. As these organic compounds break down, they release volatile gases. In a closed nursery environment, these gases concentrate quickly.
Standard household trash cans rely on simple swing lids or open tops that allow air to exchange every time a new piece of waste is added. Dedicated diaper disposal systems, by contrast, use physical barriers—such as rubber gaskets, dual-lid airlocks, or continuous film liners—to trap gases inside the receptacle. While these mechanisms prevent immediate off-gassing into the bedroom, the trapped air inside the container becomes heavily saturated with odor compounds.
Over time, this saturated air can affect the materials of the pail itself. Depending on whether your system uses plastic, coated steel, or specialized liner bags, odor molecules can adhere to interior surfaces or penetrate porous materials, leading to persistent smells even after the bag has been emptied.
Material Choice: How Steel and Plastic Handle Odor Absorption
When setting up a diaper disposal system, the physical material of the container plays a major role in long-term odor performance. Parents generally choose between two main material categories: plastic resin and coated metal.
Plastic Diaper Containers
High-density plastic is lightweight, cost-effective, and easy to move around the nursery. However, plastic is inherently porous at a microscopic level. Over weeks and months of continuous exposure to organic waste, plastic can absorb volatile odor molecules. Once these molecules embed within the plastic matrix, surface wiping alone may not completely eliminate the smell. If you choose a plastic pail, using high-barrier multi-layer refill bags and performing regular deep cleans is essential to prevent long-term odor retention.
Steel and Metal Diaper Containers
Powder-coated steel or aluminum containers are non-porous. Odor molecules cannot penetrate steel, which makes metal systems resistant to long-term absorption. While steel containers may cost more initially, they generally require less intensive scrubbing over time to remain odor-free. However, steel containers still feature plastic or rubber seals, hinges, and foot pedals that require regular attention to maintain an airtight seal.
Daily and Weekly Practices to Keep Your Diaper Pail Fresh
Preventing odors is far easier than trying to remove deep-seated smells once they have settled into your nursery. Establishing simple daily and weekly habits keeps your diaper changing station fresh.
1. Wrap and Wrap Tight
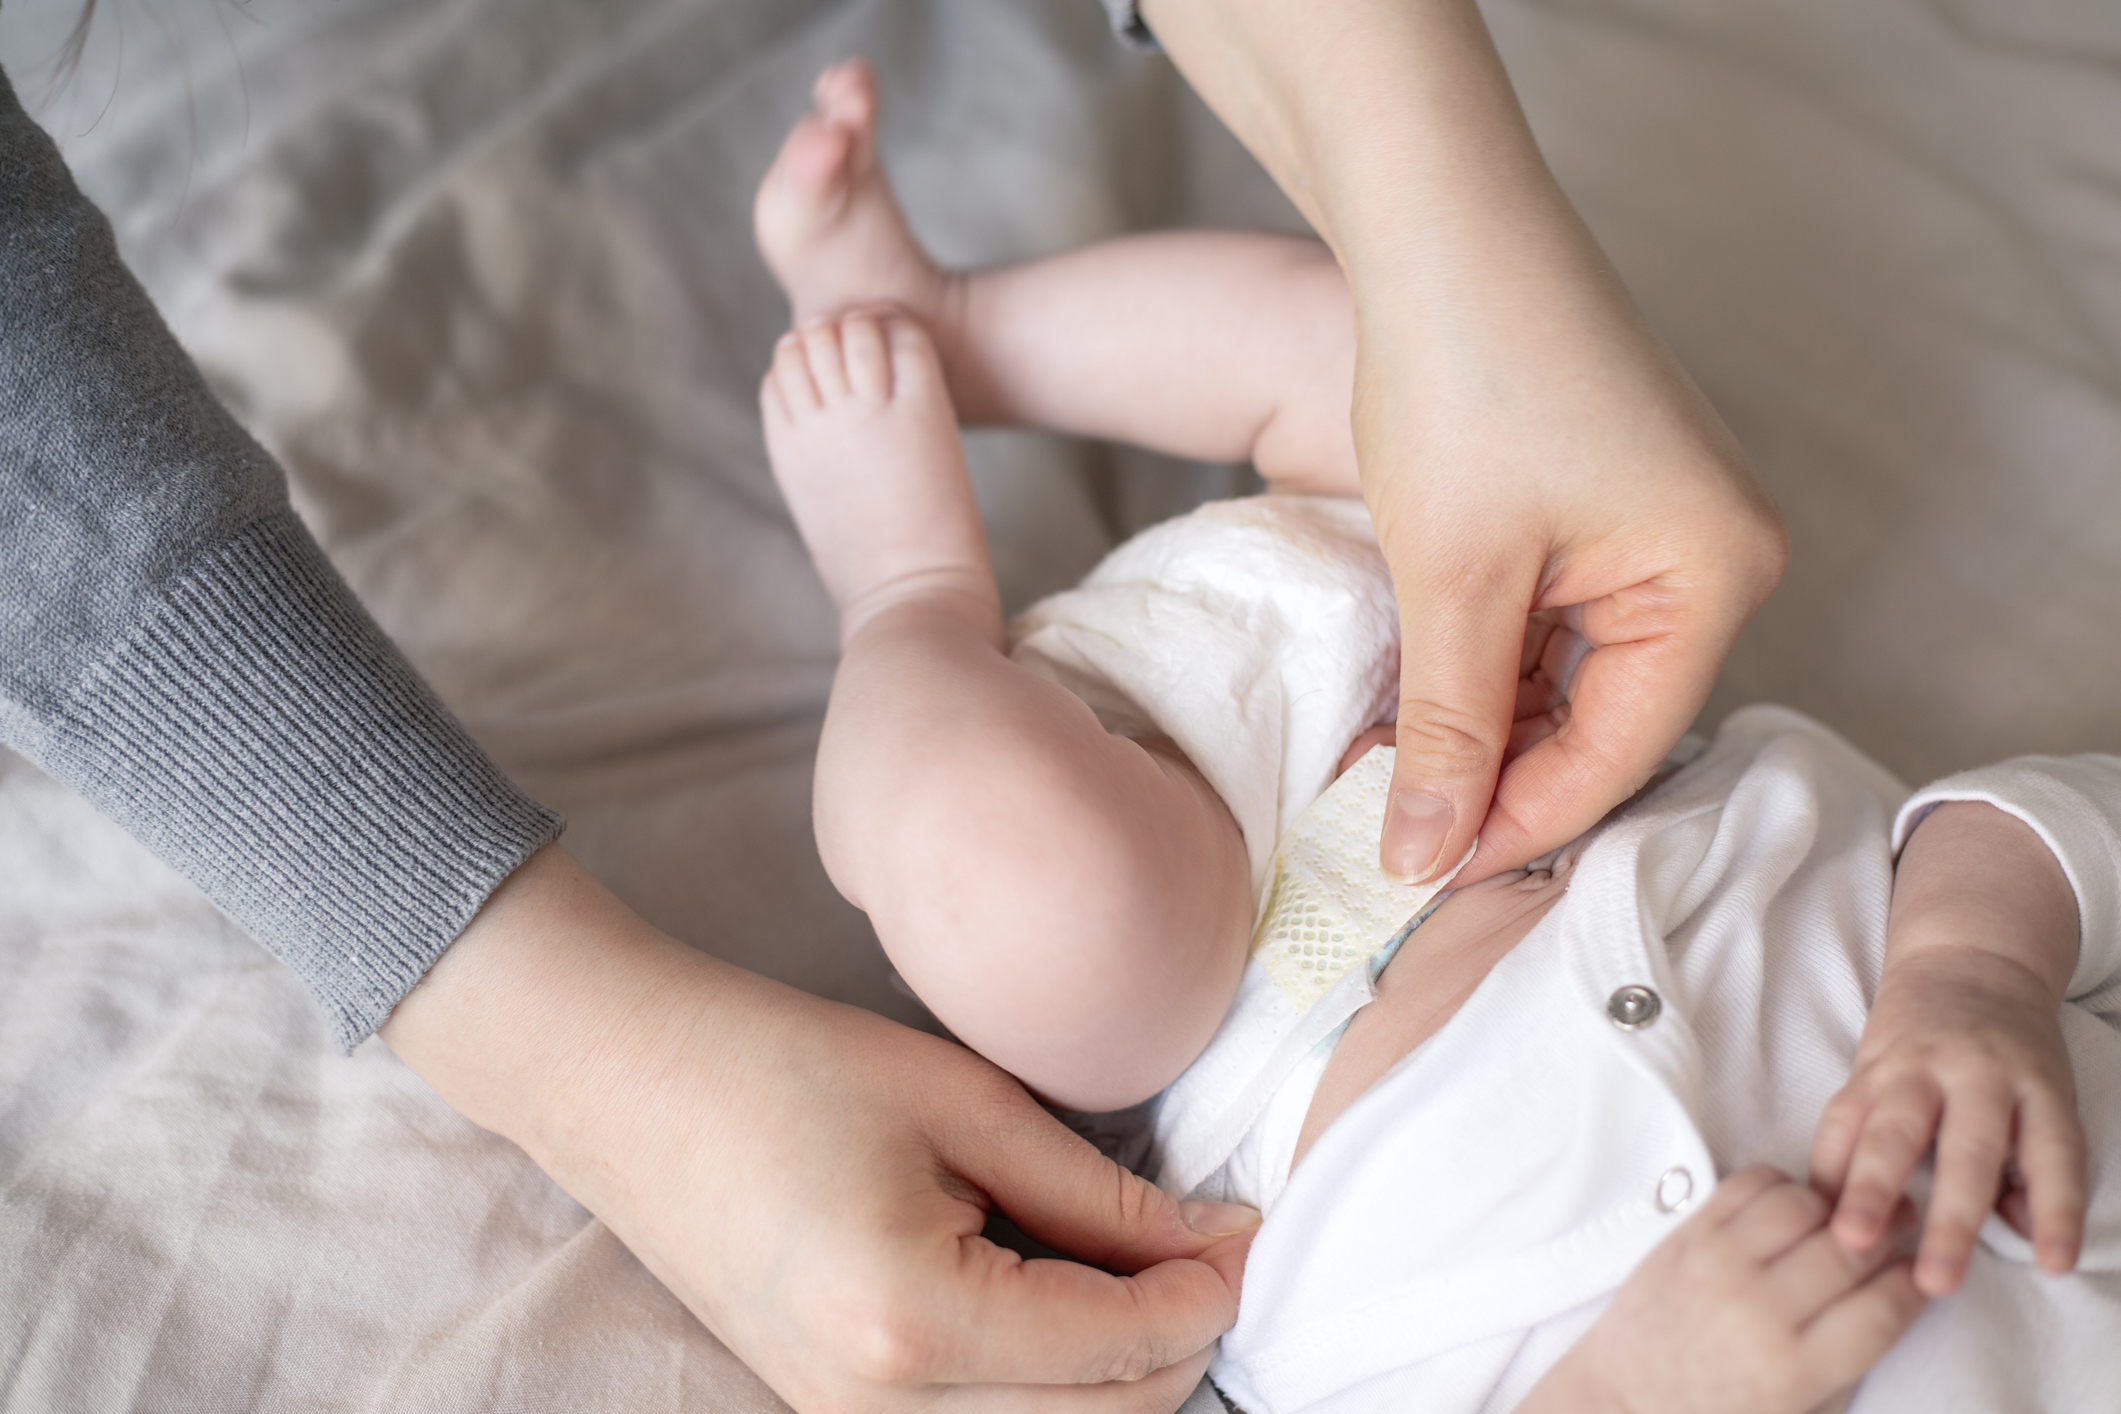
Before dropping a dirty diaper into the container, wrap it securely using its own adhesive tabs. For particularly soiled diapers, consider placing them in a small biodegradable bag or a section of liner film before disposal. Minimizing exposed surface area reduces the speed at which volatile gases escape into the internal chamber.
2. Avoid Overfilling the Receptacle
It can be tempting to push down on the contents to fit one more diaper into the bag, but overfilling forces trapped air and odor gases upward through the seal mechanism. It also puts excess tension on the liner bag, increasing the risk of tears or punctures. Empty the container as soon as it reaches the internal fill line, or every two to three days regardless of volume.
3. Maintain the Bag Seal Mechanism
Whether your system uses continuous liner cartridges or standard tall kitchen bags, ensure the bag is installed smoothly without folds or bunches around the sealing gasket. A bunched bag creates micro-gaps in the rubber seal, allowing trapped air to slowly leak into the room.
4. Optimize Placement and Temperature
Odor molecules become more active in warm, humid conditions. Avoid placing your diaper container directly next to a heating vent, in direct sunlight, or right beside a radiator. Keeping the container in a cool, well-ventilated area of the room significantly slows gas expansion and helps maintain a fresh atmosphere.
How to Deep Clean and Deodorize a Diaper Pail
Even with careful daily habits, every diaper disposal container requires a deep clean periodically. Plan to perform a thorough wash once every three to four weeks, or immediately if a bag leaks or tears inside the housing.
Deep Cleaning Checklist:
- Empty contents and remove refill hardware
- Wash interior and exterior with warm soapy water
- Apply a non-abrasive disinfectant spray
- Allow all components to air dry completely in sunlight
- Reassemble with a fresh refill cartridge
Step 1: Complete Emptying and Disassembly
Remove the current liner bag and dispose of it immediately in your main outdoor waste bin. Take out any removable parts, such as cartridge rings, inner lids, or removable drop-flaps, following the manufacturer’s instructions.
Step 2: Wash with Mild Soap and Warm Water
Move the disassembled container to a bathtub, utility sink, or outdoor space. Wash all interior and exterior surfaces using warm water and a mild dish soap. Dish soap effectively breaks down organic residues and oils without damaging rubber gaskets or protective coatings. Avoid using harsh abrasive scrubbers that can scratch plastic surfaces, creating microscopic grooves where bacteria and odors can hide.
Step 3: Apply an Odor-Neutralizing Solution
After rinsing away the soap, wipe down or spray all interior surfaces with a mixture of equal parts warm water and distilled white vinegar, or a child-safe enzymatic cleaner. Enzymatic cleaners break down organic compounds rather than simply masking smells. If using vinegar, allow the solution to sit on the surfaces for 10 to 15 minutes before wiping dry.
Step 4: Sun-Drying for Natural Sanitization
Whenever possible, place the opened container and its components outdoors in direct sunlight for two to three hours. Ultraviolet (UV) light from the sun acts as a natural sanitizer and helps break down lingering odor molecules trapped in plastic or rubber components. Ensure the pail is 100% dry before reassembling, as trapped moisture creates a damp environment that encourages mildew growth.
Natural Deodorizing Solutions for the Nursery
In addition to regular washing, using safe, natural absorbents inside or beneath the pail helps capture lingering moisture and airborne odor compounds between cleanings.
Baking Soda (Sodium Bicarbonate): Sprinkle two tablespoons of plain baking soda into the bottom of the empty container body before installing a fresh bag. Baking soda neutralizes acidic odor molecules rather than just covering them up.
Activated Charcoal Bags: Small, porous linen sacks filled with activated bamboo charcoal can be taped to the inside lid or placed in the base of the unit. Charcoal absorbs ambient moisture and volatile organic compounds without releasing any scents or chemicals into the nursery air.
Essential Oil Cotton Balls: Place a cotton ball dampened with two drops of lavender or tea tree oil beneath the liner bag. Avoid placing concentrated essential oils directly on plastic parts, as pure oils can degrade resin materials over time.
Frequently Asked Questions
Why does my diaper pail still smell after emptying it?
If an empty pail still emits a strong smell, odor molecules have likely penetrated the plastic surfaces or accumulated beneath the bag mechanism. Perform a deep clean using an enzymatic spray or a diluted white vinegar solution, and allow the container to air dry completely in direct sunlight to draw out embedded odors.
How often should a diaper pail be emptied?
For newborns, empty the container every two to three days to prevent heavy gas buildup and reduce strain on the sealing mechanism. As your baby grows and eats solid foods, emptying the container every 24 to 48 hours helps maintain optimal nursery air quality.
Can I use regular trash bags in a dedicated diaper pail?
Some diaper pails accommodate standard kitchen trash bags, while others require proprietary continuous refill cartridges designed with multi-layer odor-barrier film. Using standard trash bags in a system designed for multi-layer refills may reduce odor-locking performance, as thin polythene allows gases to diffuse through the plastic over time.
Where is the best place to put a diaper pail in a small nursery?
Place the container in a cool, well-ventilated spot away from heat vents, radiators, and direct sunlight. Ensure there is sufficient clearance to operate foot pedals or lid mechanisms smoothly without hitting surrounding furniture.
Are scented refill bags safe for nursery use?
Scented bags can help mask mild smells, but heavy artificial fragrances may irritate sensitive infant airways. Unscented multi-layer barrier film paired with natural absorbents like baking soda or activated charcoal is often preferred for maintaining fresh nursery air without introducing synthetic scents.
Conclusion
Managing dirty diaper storage does not have to be a source of stress in your home. By understanding how materials interact with organic waste, choosing a quality disposal system such as the Momcozy Triple-Seal Diaper Pail, and maintaining a regular cleaning routine, you can easily keep your nursery clean and fresh. Combine tight diaper wrapping habits with periodic deep cleaning and natural odor absorbents to ensure your diaper changing area remains organized, hygienic, and comfortable for both you and your baby.